But first, I want to let you know that this book would not have been possible without some assistance from the fine Folks at Elmer's. Yes, as in Elmer's glue (OMG).
I have a firm opinions about advertisements and product placement on this old blog of mine. Any opinions expressed here are always my own. And I kind of pride myself on being honest about things, even if I am given something to try for free (rare, but it happens). Whatever your own opinion is related to advertisements and products given to bloggers and other social media folks, I just have to say, I was pleased as punch when the lovely folks at Elmer's contacted me about making something inspired by their (really cool) 101 board uses inspiration guide.
Here's the press detail:
"What inspires you to get creative? With autumn fast approaching, the start of a fresh season is the perfect time to spruce up your home, office space or crafting portfolio with new skills and projects – and Elmer’s is here to help!
We’ve created a 101 Uses for Inspired Users Guide, featuring the full Elmer’s suite of versatile Board products in projects for your everyday life. From jewelry holders to holiday ornaments and Thanksgiving place cards to decorative wall shelves, the uses for Elmer’s Foam Board products are nearly endless!"
Like make a mini book. Because that's what I do.
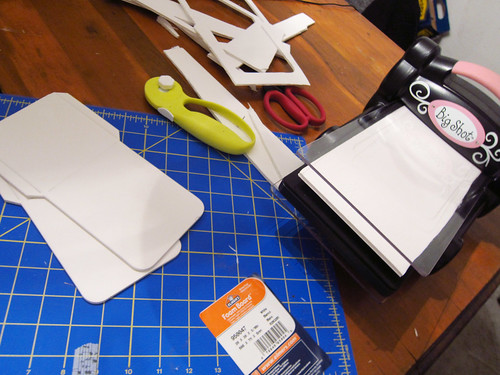
First, I cut down the foam board so it would fit in my Sizzix Big Shot. (Yes you can die-cut foamboard. And it cuts like a dream.) Then I ran the foam through the machine with my pocket/envelope die.
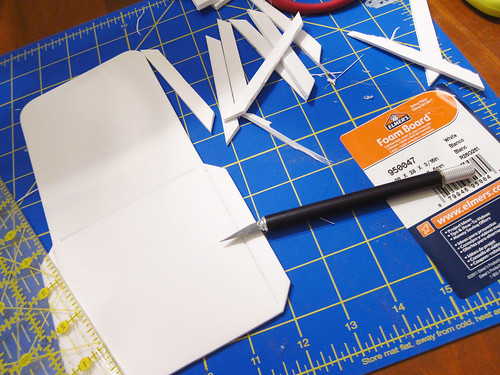
Then I cut off the pocket "wings" and trimmed the length of the foamboard using my shiny new X-acto knife.
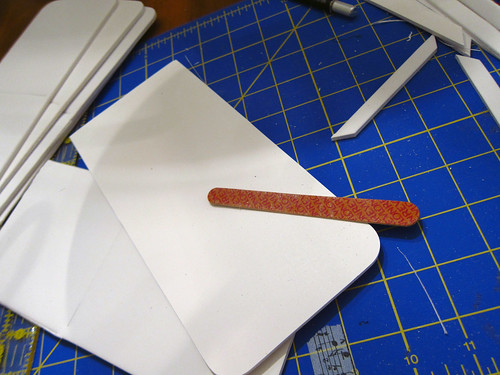
I apparently cannot cut a straight line, even with a ruler, so I used a file to help sand down the edges and make everything even.
I reran the non-rounded ends through the machine again so that both ends of the foamboard would have rounded corners.
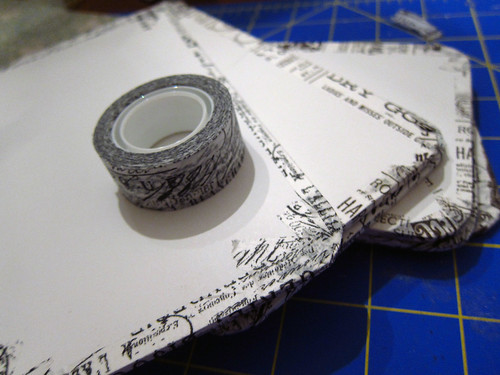
From here, there's a couple of things you can do. You can just tape up the raw edges with tape, like so:
From here, you can gesso or paint away. The foamboard is an excellent surface for paint and inks. I think it would be a great way to make a boardbook or art journal with chunkier pages. The other advantage is that the pages, while bulky, are also super light. They feel really good in your hand.
Another fun thing which I tried out (but didn't end up doing for this project) was using my craft knife to hollow out a space in between the "walls" of the foam board. The hollow made a perfect place to tuck a little tag in. So you could do journaling pockets inside each page.
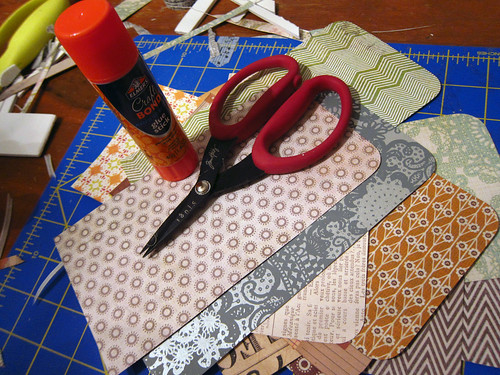
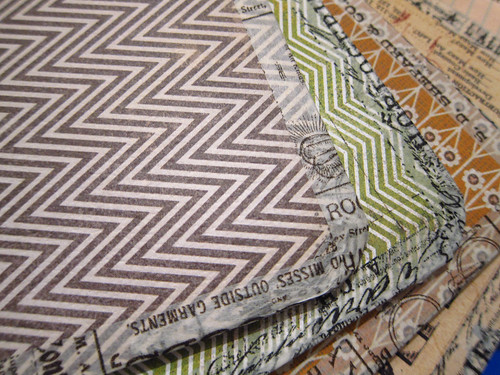
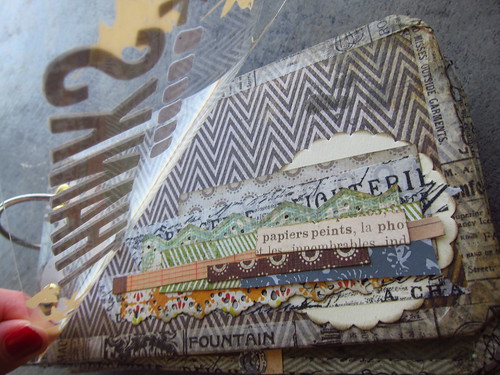
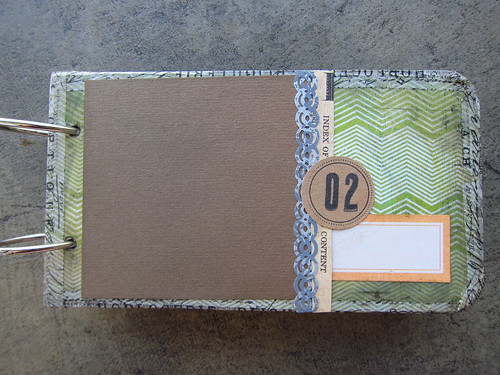
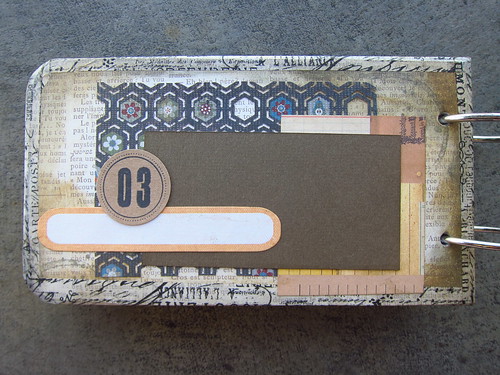
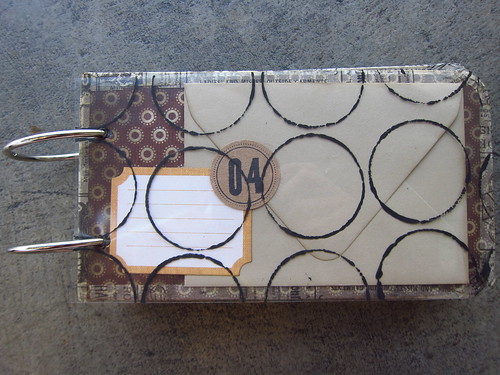
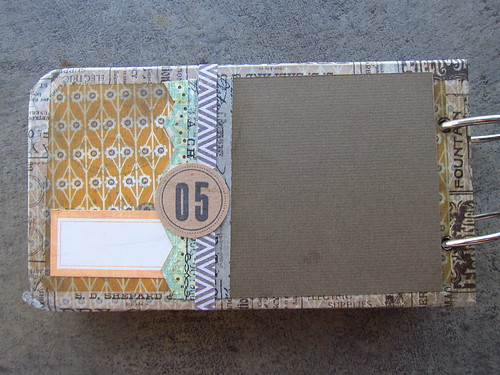
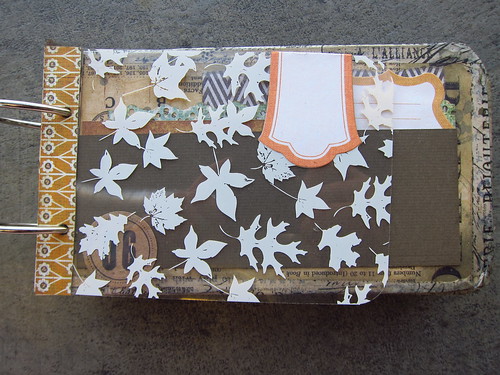
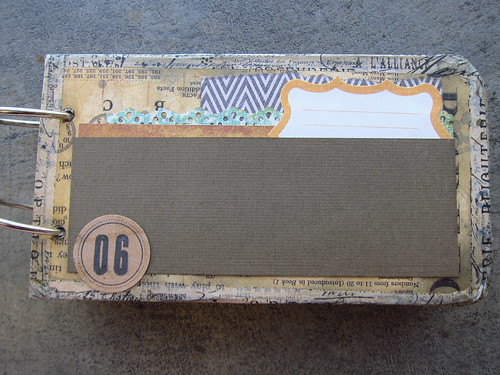
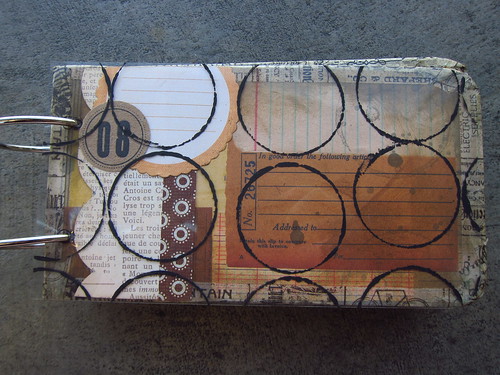
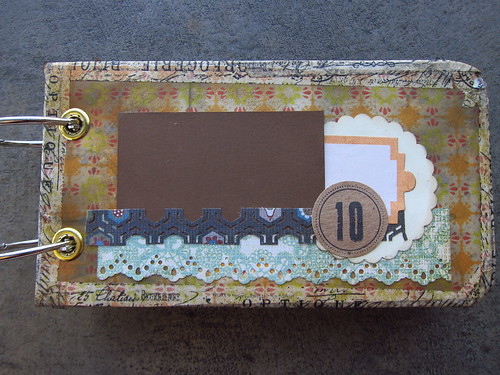
What I decided to do though, was cover up the pages with patterned paper. I used my same envelope die to cut all the pages.The papers were mostly Basic Grey Pyrus, with a little MME (gray chevron), 7 Gypsies, a Nook and Pantry doily, as well as some Crate Farmhouse thrown in. And oh yes, a silver Hambly doily paper.
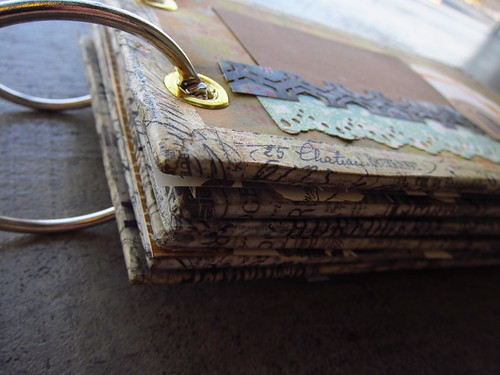
I glued everything down with my handy glue stick and then taped up the edges with two different kinds of Tim Holtz tissue tape.
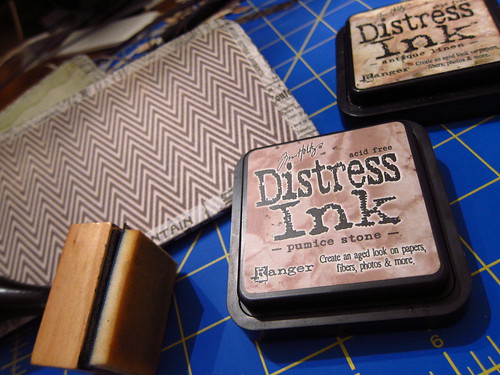
Then I got inky. I used four kinds of distress ink: Antique Linen, the new twigs one, pumice stone and vintage photo.
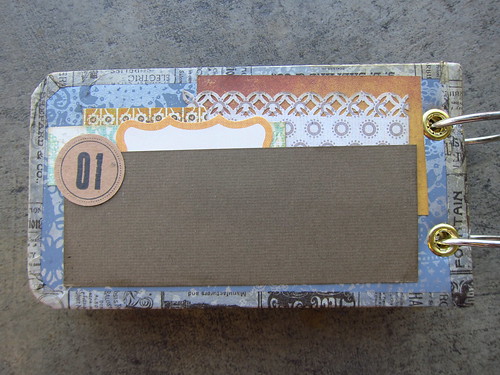
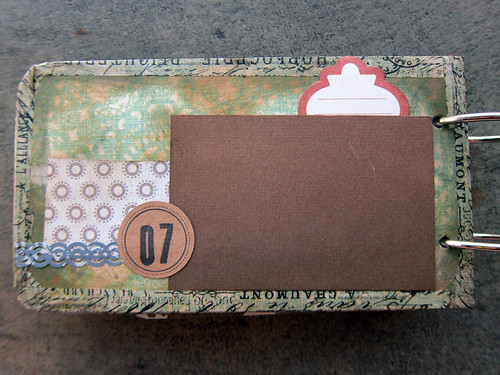
And then it was a matter of putting in photo mats (because I don't have photos ready yet), some journaling labels and some scraps for embellishments.
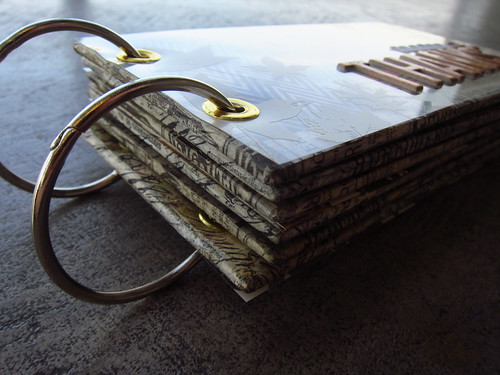
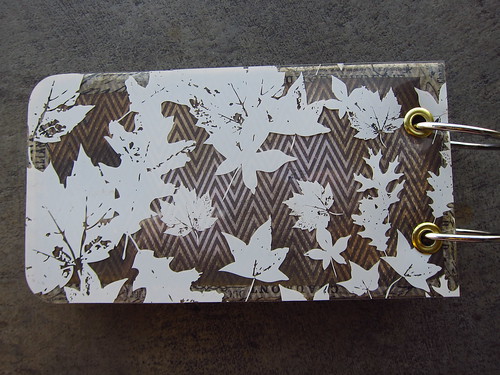
I cut some white hambly transparencies for the covers and set some brass 1/4" grommets into the covers. I used my crop-o-dile to punch holes in the rest of the pages. I also added some paint-stamped transparencies in as extra pages.
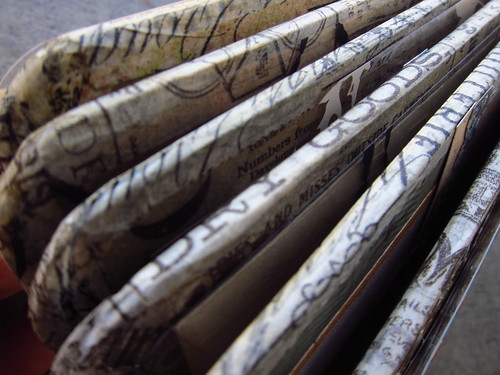
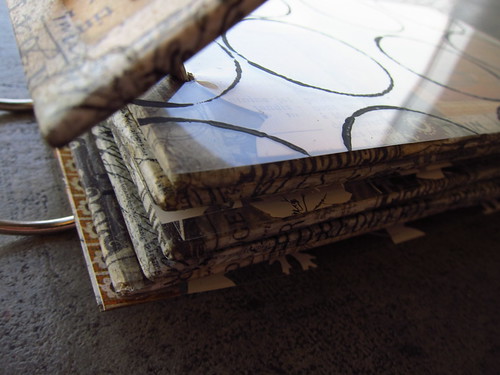
Look at how delightfully thick these pages are:
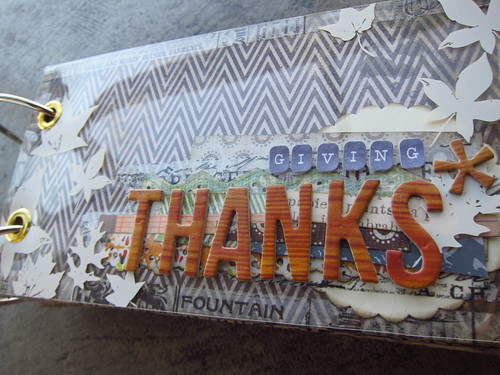
Here's the full finished-except-for-photos book:
Once I get the photos chosen and printed and actually glued into the book, I'll reshare on the blog.
In the meantime, I am delighted to inform you that Elmer's is graciously providing me with some goodies to give away. Post a comment on this post telling me one thing you are thankful for and you can win a prize pack which includes the same goodies I got:
- Foam Board
- Foam Tri-Fold Display Board
- Mini Bi-Fold Foam Board
- CraftBond Extra Strength Glue Stick
- X-ACTO Gripster Knife
- CraftBond Tacky Glue
I'll accept all comments posted through 6:00 pm PST on Friday 11/11/11.
(Sadly, I can only choose a winner from amongst my commenters in the United States. Sorry international folks, I'll have something coming up for you closer to December.)
And oh by the way... I have another project in the works using my goodies from Elmer's. And here's a sneak peek for you:
Got to get out my glue gun and get some embellishing in there. And yes, and there will be a second Elmer's giveaway when I post that one too. ;)
Happy Wednesday!







Um yes, I love this. You are my hero.
ReplyDeleteWhat a great mini! Thanks for all the photos!
ReplyDeleteDelightful! Loved seeing all the pages.
ReplyDeleteI have missed your posts very much- this mini is FABULOUS! LOVE your hand stamped circle tranny page and the awesome pattern combos- the taped edge is inspired. Congrats on the Elmer's nod- that's awesome.
ReplyDeleteWow! this album is amazing!! I love the colors you used, so beautiful. Glad you are back to posting, I hope you do some cool Christmas tags this year too!
ReplyDeleteI adore mini albums, they're my all-time fave and this one is quite fantastic! Grateful, mostly, for my husband: best friend and father to our two incredible girls. I wouldn't be who I am without him.
ReplyDeleteThis mini is lovely and I would be honored to win it.
ReplyDeletesuch a cute mini - love the tissue tape edges! thankful for: my wonderful husband who does stuff that I don't like to do. =)
ReplyDeleteLove this mini. I never thought to put wash on the outside edges of my minis and I love that idea! I am thankful that my family will be visiting this weekend! I miss them so much!
ReplyDeletei love your books! so cool. i am inspired to try this kind of layout for a mini.
ReplyDeleteLove this mini! Thanks for the chance. Dawn
ReplyDeleteI am so thankful you are back! :)
ReplyDeleteHooray - you're back! I love, love the mini and would have never thought you could use foam board. It turned out absolutely gorgeous - can't wait until you have it all filled up with photos and goodies! I am thankful that I have a studio that is all mine and I can leave it as messy as I like! uh, not that I would do that of course ;-)
ReplyDeleteThis is my first visit to your blog and I LOVE your work.
ReplyDeleteGorgeousness!
Thanks for the inspiration.
I missed your blogs. So happy to see your back. Love your new mini book. Patiently hoping you will teach again at Impress. You have a unique style i love. Have fun this weekend at the convention,look forward to your review. I love Elmers too!
ReplyDeleteYes, glad you're back!! LOVE your mini and love those punches...on pg 2 and 10 and those jumbo rings..LOVE!! Thanks for the mini goodness:)
ReplyDeleteSo many great ideas! Makes me want to run out and grab up a few pieces to play with! Thanks for sharing.
ReplyDeleteOh, girl! This is gorgeous! You are so creative! The next project looks really cool too! Thanks so much for the chance, honey!
ReplyDeleteI love this mini! You always inspire me so much!
ReplyDeleteI am so thankful that my whole family can celebrate Thanksgiving at our house this year.
I am thankful for my children and friends! And that I get to go to CKC Seattle tomorrow:)
ReplyDeleteyour mini albums are simply the best!!!
ReplyDeletethanks for sharing
xoxo
elisa
eeek! i love this mini-truly inspiring and added to my i love it gotta try it someday folder lol :)
ReplyDeleteand what girl doesn't love a little glue!?
congrats on the elmer's connection-that is definitely rad :)
good luck to everyone!
xo
sarabeth
I love it. You so inspire me. It is great to have you back online creating
ReplyDeleteThis comment has been removed by the author.
ReplyDelete